Learn
How to Install a Fishing Rod Holder on a Kayak
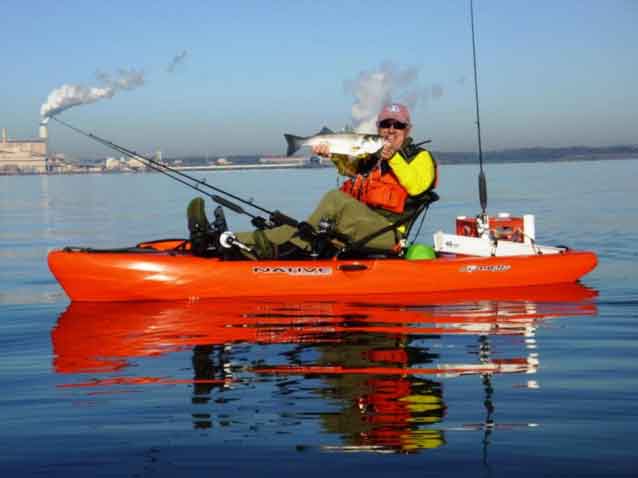
Adding a fishing rod holder to your kayak can greatly enhance your fishing experience by providing a convenient place to store your rods while paddling or waiting for a catch. Here’s a step-by-step guide to help you add a fishing rod holder to your kayak:
Materials Needed:
- Fishing rod holder: Choose a rod holder specifically designed for kayaks, such as a flush-mount or surface-mount type.
- Mounting hardware: Includes screws, bolts, nuts, or rivets, depending on the type of holder.
- Sealant: Use waterproof sealant to prevent leaks.
- Drill and drill bits: To create holes for the mounting hardware.
- Screwdriver or wrench: To secure the holder in place.
- Measuring tape: To measure and ensure the holder is placed correctly.
- Marker or pencil: For marking the drilling points.
Installation Steps:
- Choose the Location:
- Decide on Placement: Determine where you want to install the rod holder. Common locations include behind the seat or in front of the cockpit, either on the side or center of the kayak.
- Check Accessibility: Ensure the location allows easy access to the rod and doesn’t interfere with paddling.
- Mark the Mounting Points:
- Use the base of the rod holder as a template to mark where to drill the holes.
- Double-check the position to ensure it’s exactly where you want it.
- Drill the Holes:
- Carefully drill the marked holes. Make sure to use the correct drill bit size for the screws or bolts you’ll be using.
- When drilling into plastic, proceed slowly to avoid cracking the material.
- Apply Sealant:
- Apply a waterproof sealant around the holes to prevent water from entering the kayak.
- This step is crucial to maintain the kayak’s watertight integrity.
- Attach the Rod Holder:
- Align the rod holder with the drilled holes and place it on the kayak.
- Secure the holder using screws, bolts, or rivets. If using bolts, secure them with washers and nuts on the inside of the kayak.
- Tighten the hardware securely, but avoid overtightening to prevent damage to the kayak.
- Test the Installation:
- After installation, give the rod holder a firm tug to ensure it is securely attached.
- Place your fishing rod in the holder to check for proper fit and accessibility.
- Seal the Edges (Optional):
- For added security, apply a bead of sealant around the base of the rod holder where it meets the kayak.
Additional Tips:
- Consider Multiple Holders: If you use more than one rod, consider installing additional holders.
- Use a Backing Plate: For added strength, especially if the kayak material is thin, consider using a backing plate inside the kayak.
- Regular Inspections: Periodically check the rod holder for any signs of wear or loosening, particularly after rough water conditions.
By following these steps, you’ll have a sturdy and functional fishing rod holder on your kayak, making your fishing trips more convenient and enjoyable.


